
Props vs State in React — Real-World Use Cases
If you’re new to React or building your first real-world project, two words you’ll constantly encounter are props and state. At first glance, they might sound like mere technical jargon, but learning their differences and how they work together is the key to mastering React. Let's demystify them, step by step, using straightforward analogies, readable code snippets, and relatable order management scenarios—so even someone with zero React experience can follow along.
Previously in this series:Why React? Comparing React with Vanilla JSUnderstanding JSX Under the HoodHow to Install React and Create Your First Function and Class Components
What Are Props? (Think: Packages Delivered to Components)
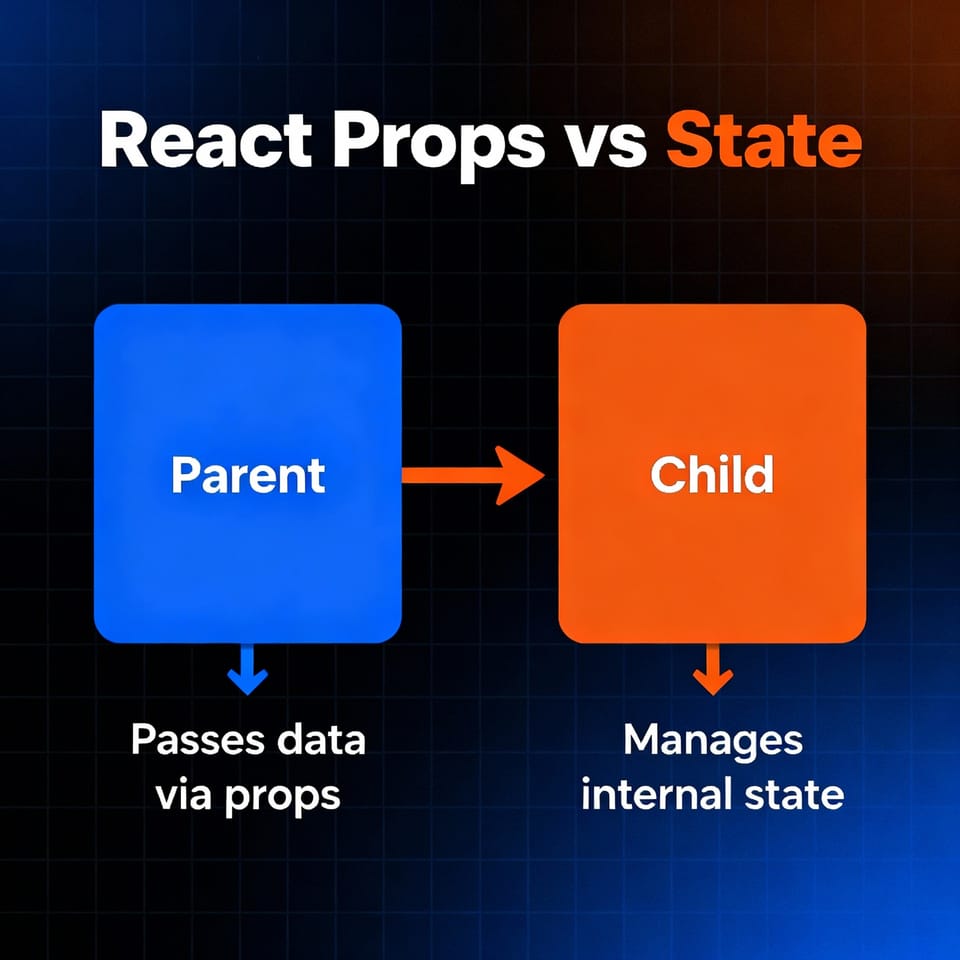
Props (short for “properties”) are like packages or messages that a parent component sends to its child component. Just as an order slip defines what goes into each customer’s package, props let React components know what data or settings they should use.
- Props are read-only: If a child component receives a prop, it can read it but cannot alter it directly.
- Props come from above: They’re assigned by the component’s parent, making data “flow down” the component hierarchy.
Example: Passing Order Details to an Order Card
Scenario: Show a list of order cards, each displaying info received from a parent.
Step 1: Create the Child Component
Make a file named OrderCard.js:
// src/OrderCard.js
function OrderCard({ orderId, customer, total }) {
  return (
    <div style={{ border: "1px solid #aaa", margin: "8px", padding: "8px", borderRadius: "4px" }}>
      <h3>Order #{orderId}</h3>
      <p>Customer: {customer}</p>
      <p>Total: ${total}</p>
    </div>
  );
}

export default OrderCard;
Step 2: Use the Child in the App
Edit src/App.js:
import OrderCard from "./OrderCard";

function App() {
  const orders = [
    { id: 1001, customer: "Alice", total: 300 },
    { id: 1002, customer: "Bob", total: 150 }
  ];
  return (
    <div>
      <h2>Order List (Props Example)</h2>
      {orders.map(order => (
        <OrderCard
          key={order.id}
          orderId={order.id}
          customer={order.customer}
          total={order.total}
        />
      ))}
    </div>
  );
}

export default App;
How to test: Start your app with npm start and your orders should appear! Changing the orders array in App.js will change what you see, showing how props flow down.
Takeaway: Props are like a one-way delivery from parent to child. If you need a component to display information that comes from outside (like an order fetched from a server), use props.
What is State? (Think: A Component’s Memory or To-Do List)
State is a component’s personal “memory”—it keeps track of things that can change as users interact with your UI. Unlike props, state is managed inside a component, and can be updated as needed.
- State is local: Each component can have its own state.
- State can change: When state updates, React auto-refreshes that part of the UI.
Example: Managing Order Status
Scenario: An order's status changes when a user clicks a button.
Step 1: Create an Order Status Component
File: src/OrderStatus.js
import { useState } from "react";

function OrderStatus() {
  const [status, setStatus] = useState("Processing");
  return (
    <div>
      <span>Status: {status} </span>
      <button onClick={() => setStatus("Shipped")}>Mark as Shipped</button>
      <button onClick={() => setStatus("Delivered")}>Mark as Delivered</button>
    </div>
  );
}

export default OrderStatus;
Step 2: Use It in Your App
In src/App.js:
import OrderStatus from "./OrderStatus";

function App() {
  return (
    <div>
      <h2>Order Status (State Example)</h2>
      <OrderStatus />
    </div>
  );
}

export default App;
How to test: Try clicking the buttons—notice how the component remembers and shows the latest status. That’s local state in action.
Takeaway: State is like a dynamic checklist stored within the component. User actions (like clicking a button) can update state, instantly reflecting changes in the UI.
Side-by-Side: How Props and State Differ
| Props | State | |
|---|---|---|
| Who controls? | Parent component | The component itself |
| Can you change it inside? | No | Yes (using setState/useState) |
| Purpose | Pass data/config from parent to child | Store/update dynamic info |
| Re-render on change? | Yes, if parent prop changes | Yes, if state changes |
| Example | Order data sent to a card component | Status of an order (pending, shipped, etc.) |
Real-World Use Cases in Order Management
Now, let’s connect props and state through a realistic order management workflow.
1. Parent Tracking All Orders, Passing Info Down
Scenario: The main app stores a list of orders and their statuses. Changing an order’s status updates the parent’s data.
Step 1: Build Component Structure
Create three files: OrderCardWithStatus.js, OrderStatusSelector.js, and update App.js.
OrderStatusSelector.js:
import React from "react";

function OrderStatusSelector({ status, onChange }) {
  return (
    <>
      <select value={status} onChange={e => onChange(e.target.value)}>
        <option value="Processing">Processing</option>
        <option value="Shipped">Shipped</option>
        <option value="Delivered">Delivered</option>
      </select>
    </>
  );
}

export default OrderStatusSelector;OrderCardWithStatus.js:
import OrderStatusSelector from "./OrderStatusSelector";

function OrderCardWithStatus({ order, onStatusChange }) {
  return (
    <div style={{ border: "1px solid #aaa", margin: "8px", padding: "8px", borderRadius: "4px" }}>
      <h4>Order #{order.id}</h4>
      <p>Customer: {order.customer}</p>
      <p>Total: ${order.total}</p>
      <OrderStatusSelector
        status={order.status}
        onChange={newStatus => onStatusChange(order.id, newStatus)}
      />
    </div>
  );
}
export default OrderCardWithStatus;
Step 2: The Parent Stores State and Passes Props
App.js:
import { useState } from "react";
import OrderCardWithStatus from "./OrderCardWithStatus";

function App() {
  const [orders, setOrders] = useState([
    { id: 2001, customer: "Chirag", total: 250, status: "Processing" },
    { id: 2002, customer: "Vidya", total: 400, status: "Shipped" }
  ]);

  function updateOrderStatus(id, newStatus) {
    setOrders(orders =>
      orders.map(order =>
        order.id === id ? { ...order, status: newStatus } : order
      )
    );
  }

  return (
    <div>
      <h2>Order Dashboard (Props + State Example)</h2>
      {orders.map(order => (
        <OrderCardWithStatus
          key={order.id}
          order={order}
          onStatusChange={updateOrderStatus}
        />
      ))}
    </div>
  );
}

export default App;
How to test: Try changing the status from the dropdown. The parent component updates its "master" order list state, and all UI is instantly refreshed with the new status.
When to Use Props vs When to Use State
Use Props When
- Displaying static information from the parent.
- You need read-only configuration values for the child component.
- You want reusability—for example, a single
OrderCardcan show any order.
Use State When
- Reacting to user input, such as typing or button clicks.
- Displaying dynamic info, like the number of selected orders.
- Temporarily storing data the component needs to remember between renders.
"Lifting State Up": Solving Shared State Problems
What if both the parent and many children need to share or update the same information? In React, you “lift state up” to their nearest shared parent and pass it down as props.
Example: Filtering Orders by Status
import { useState } from "react";
import OrderCard from "./OrderCard";

function App() {
  const [statusFilter, setStatusFilter] = useState("All");
  const [orders] = useState([
    { id: 3001, customer: "Aman", total: 700, status: "Processing" },
    { id: 3002, customer: "Juhi", total: 200, status: "Delivered" }
  ]);

  const visibleOrders =
    statusFilter === "All"
      ? orders
      : orders.filter(order => order.status === statusFilter);

  return (
    <div>
      <h2>Filter Orders by Status</h2>
      <select
        value={statusFilter}
        onChange={e => setStatusFilter(e.target.value)}
      >
        <option value="All">All</option>
        <option value="Processing">Processing</option>
        <option value="Delivered">Delivered</option>
      </select>
      {visibleOrders.map(order => (
        <OrderCard
          key={order.id}
          orderId={order.id}
          customer={order.customer}
          total={order.total}
        />
      ))}
    </div>
  );
}

export default App;
How to test: Switch the dropdown to filter the displayed orders. Both the filter criteria and the orders are managed in state/props.
- State: The filter value is dynamic and handled by the parent.
- Props: Filtered orders are passed down the tree to display.
Best Practices: Making Components Predictable and Maintainable
- Make components pure: Use props alone whenever possible for clarity and reusability.
- Minimize state: Only put into state what can’t be computed from props or remains truly dynamic.
- Pass callbacks via props: For children to notify parents about events (like “mark this order delivered”), pass handler functions as props.
Common Gotchas and Pro Tips
- Never try to mutate props inside a child. Treat props as read-only to avoid confusing bugs.
- Don’t duplicate data in both state and props. Store it once—usually in the highest shared component—and flow data down via props.
- Use state for transient UI: open/close dialogs, temporary form entries, local toggles.
- Use props for shared or static configuration: user role, theme colors, layout options, IDs.
More Practical Example
Editable Details (Combining Props and State)
import { useState } from "react";

function EditableOrderCard({ order, onUpdate }) {
  const [isEditing, setIsEditing] = useState(false);
  const [customer, setCustomer] = useState(order.customer);

  function handleSave() {
    onUpdate(order.id, customer);
    setIsEditing(false);
  }

  return (
    <div style={{ border: "1px solid #aaa", margin: "8px", padding: "8px", borderRadius: "4px" }}>
      <h3>Order #{order.id}</h3>
      {isEditing ? (
        <>
          <input value={customer} onChange={e => setCustomer(e.target.value)} />
          <button onClick={handleSave}>Save</button>
          <button onClick={() => setIsEditing(false)}>Cancel</button>
        </>
      ) : (
        <>
          <p>Customer: {order.customer}</p>
          <button onClick={() => setIsEditing(true)}>Edit</button>
        </>
      )}
      <p>Total: ${order.total}</p>
    </div>
  );
}

export default EditableOrderCard;
import { useState } from "react";
import EditableOrderCard from "./EditableOrderCard";
function App() {
const [orders, setOrders] = useState([
{ id: 401, customer: "Meena", total: 340 },
{ id: 402, customer: "Dev", total: 215 }
]);
function updateCustomerName(id, newCustomer) {
setOrders(orders =>
orders.map(order =>
order.id === id ? { ...order, customer: newCustomer } : order
)
);
}
return (
<div>
<h2>Edit Order Customer Name</h2>
{orders.map(order => (
<EditableOrderCard
key={order.id}
order={order}
onUpdate={updateCustomerName}
/>
))}
</div>
);
}
export default App;
- Props:
orderdata and update handler. - State: Local edit form handling.
Recap Table: Picking the Right Tool
| What Do You Need? | Use State? | Use Props? | Why |
|---|---|---|---|
| Display order fetched from server | ✓ | Data is owned by parent and given to card as a prop | |
| Select/deselect an order in a table | ✓ | The selection is local, dynamic, user-driven | |
| Alert parent when an order is shipped | ✓ | Pass a callback prop from parent to child for communication | |
| Hide/show extra order details (toggle view) | ✓ | UI visibility is local and may change frequently | |
| Render a list of orders | ✓ | Orders array comes from parent, child just displays received info | |
| Track typing in a customer name input | ✓ | Input changes are local/transient and used for stateful interactivity |
Final Thoughts: Mastering React’s Mental Model
Props and state seem tricky at first, but they’re just React’s way of separating static info or instructions (props) from things that might change (state). When you design your components to receive data via props and handle dynamic behavior with state, you’ll write code that’s clear, maintainable, and reusable.
- Props = configuration and data delivery, strictly from the parent.
- State = internal memory, user-driven change, and dynamic updates.
Coming Up Next
Stay tuned! In the next article of this series, we’ll tackle "Controlled vs Uncontrolled Inputs with Practical Forms"—making your order management forms more robust, reliable, and user-friendly.
With this practical understanding, you’ll approach any React project with confidence—and communicate your component’s needs in a way that makes teamwork and debugging a breeze. Happy coding!
Member discussion